Automatic Builds
Nano API supports automatic builds for your services. This means that whenever you push a new commit to your repository, Nano API will automatically build and deploy your service, tagged with that commit's hash.
To set this up, see the following steps, which assume you have already completed the Getting Started guide:
Step 1: Create an API Token
First, you will need to create an API token. This token will be used to authenticate your service with Nano API. To create an API token, go to the API Tokens page and click on the "Create a new token" button.
Add a name for your token, and it will appear in the upper right of the screen. Click on the token to copy it to your clipboard.
You can create as many tokens as you need, and you can revoke them at any time.

Note: Keep this token safe. It is used to authenticate your service with Nano API.
Step 2: Add the API Token to Your Repository as a Secret Value
Next, you will need to add the API token to your repository as a secret value. This is done to ensure that your token is not exposed in your repository.
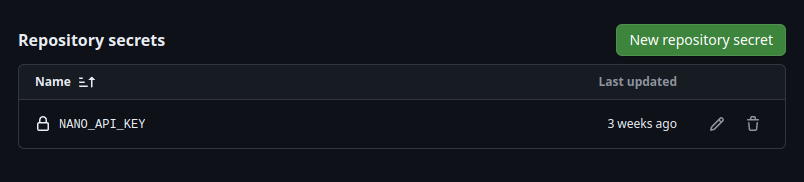
To add the API token as a secret value, go to your repository on GitHub or GitLab and navigate to the "Settings" page. From there, click on the "Secrets" or "Environment Variables" tab, depending on your platform, and create a new secret named NANO_API_KEY. Paste the API token as the value for this secret.
You can, of course, use whatever name you prefer for the secret, but you will need to reference it in your CI setup in the next step correctly.
Step 3: Set Up Your CI/CD Pipeline
Finally, you will need to set up your CI/CD pipeline to trigger a build and deploy your service whenever you push a new commit to your repository. Using GitHub Actions as an example, you can create a workflow file in your repository under .github/workflows with the following content:
# .github/workflows/deploy_using_nano.ymlname: nanoapi_build_and_deployon: [push]jobs:ci:runs-on: ubuntu-lateststeps:# Request build and stream output- name: Build Serverless functions and deploy via Nano APIuses: Nano-API/Deploy@mainwith:token: ${{ secrets.GITHUB_TOKEN }}# Best practice is to store your API key as a secretapi_key: ${{ secrets.NANO_API_KEY }}
This workflow file will trigger a build and deploy action whenever you push a new commit to your repository. You can customize the workflow file to suit your needs, such as specifying the branch to deploy from or adding additional steps.
Step 4: Push a New Commit
With your CI/CD pipeline set up, you can now push a new commit to your repository. This will trigger the workflow and automatically build and deploy your service using Nano API. You will be able to watch the output in the Actions tab of your repository.
Wrap Up
And that's it! You now have automatic builds set up for your service with Nano API. Whenever you push a new commit, Nano API will automatically build and deploy your service, making it easy to iterate and deploy changes quickly.