Getting Started with Nano API
Creating an account and deploying builds is as easy as going to app.nanoapi.io/signup and creating an account. That's it! This process will connect your GitHub or GitLab account to Nano API, allowing you to deploy your first application.
Step 1: Sign Up
Go to app.nanoapi.io/signup and create an account. You can use your GitHub or GitLab account to sign up.
Step 2: Approve Access
After signing up, you will be asked to approve access to your GitHub or GitLab account. This is necessary for Nano API to deploy your builds. We only request the minimum read-only permissions needed to deploy your builds.
Step 3: Search for a Repository
Once you have approved access, you will be redirected to the Nano API dashboard. Here, you can search for a repository to deploy. You can search for a repository by name or by the owner's name.
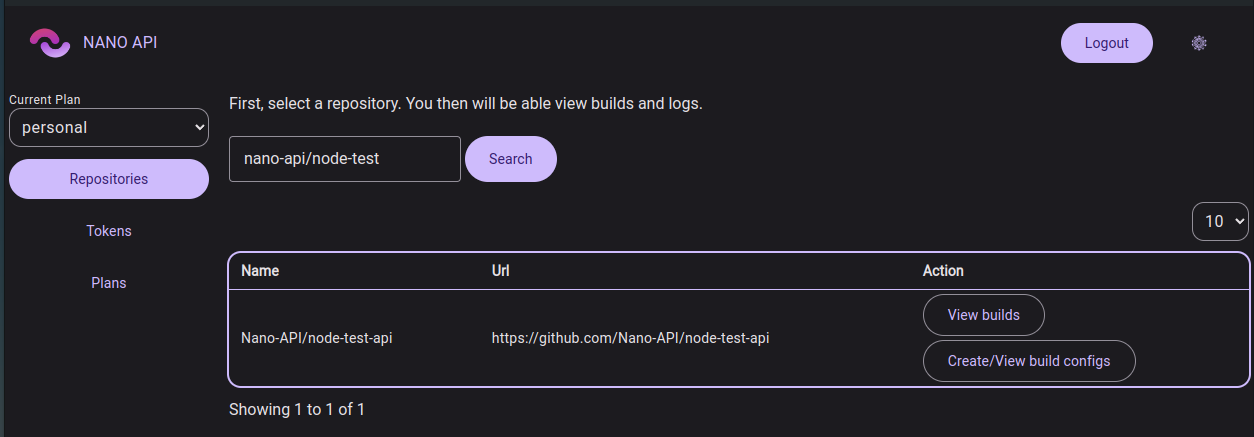
Once you have found the repository you want to deploy, click on the "View builds" button to see the builds for that repository.
First, let's create some config for our new service.
Step 4: Create Build config
Clicking on "Create/View build configs" will take you to the build config screen. Here, you can create a new build config for your service.
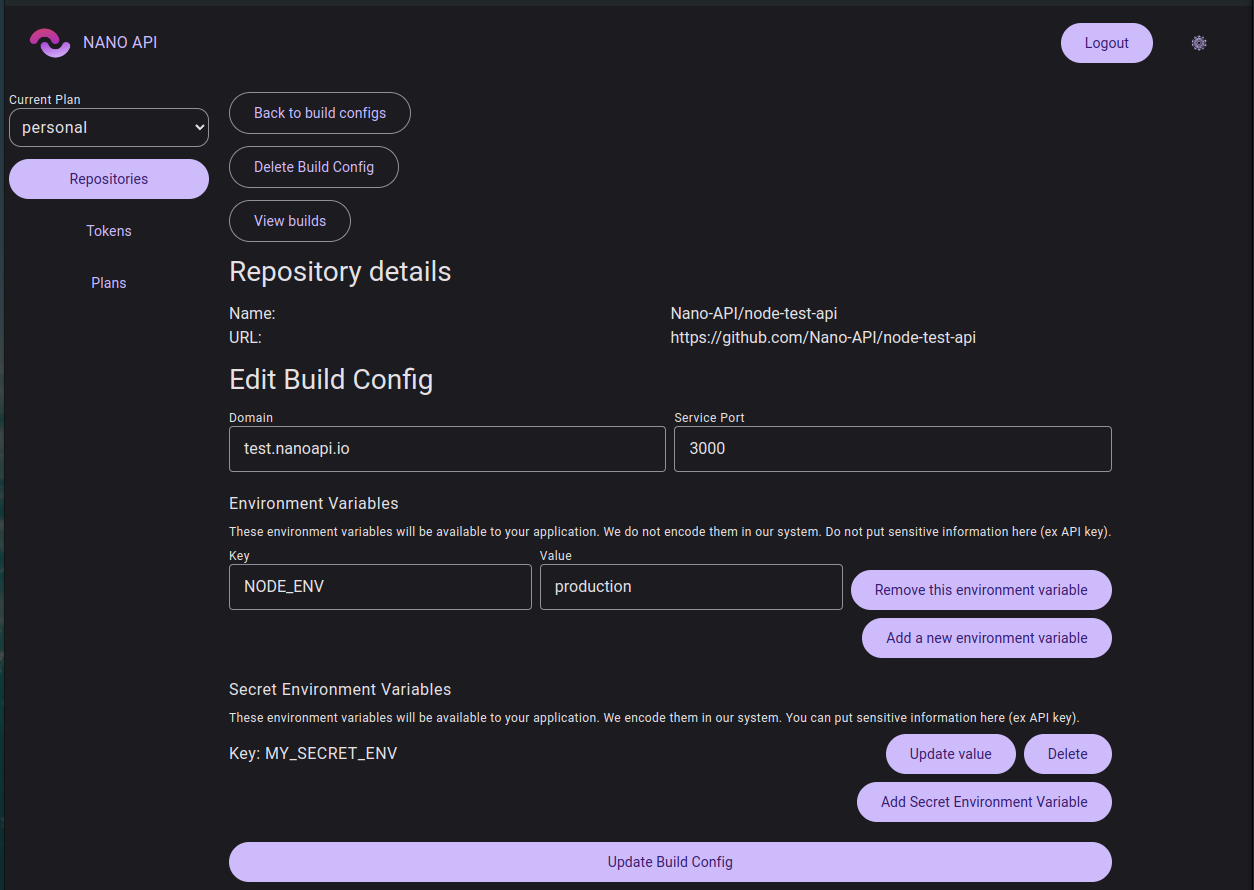
One this is done, you are all set to deploy your first application!
Next Steps
For next steps, try setting up following our Simple API tutorial to deploy your first application.